Customising the payment page
What is skinning?
If you are using the PaySuite Payment Page, then chances are you will want to customise the appearance to fit with your brand. By developing a hosted skin you can alter almost any detail of how the payment pages look and feel.
Default skin: Default
This skin will be served to your customers if you do not have your own skin. It is suitable for use in an iframe. It significantly adjusts look and feel including layout, multi-lingual text, extra form validation, and much more.
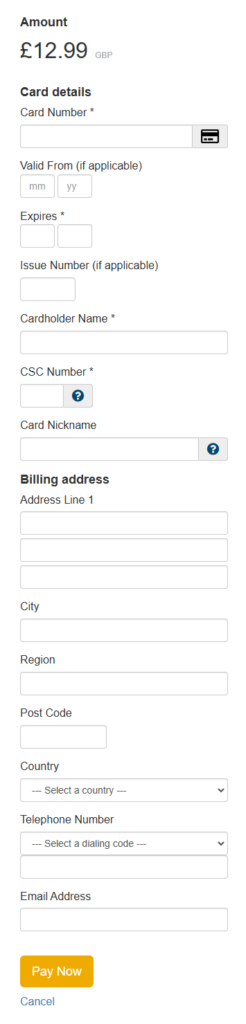
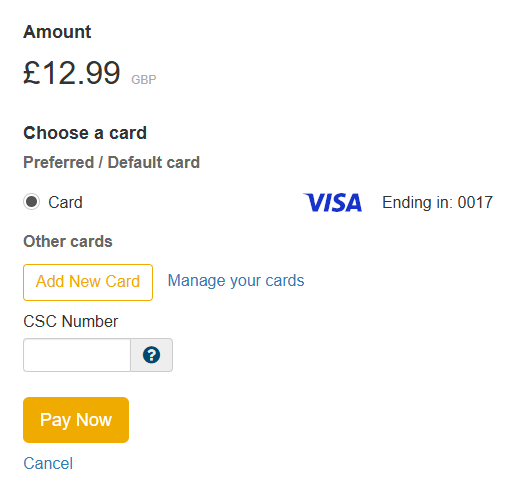
Download: defaultskin.zip
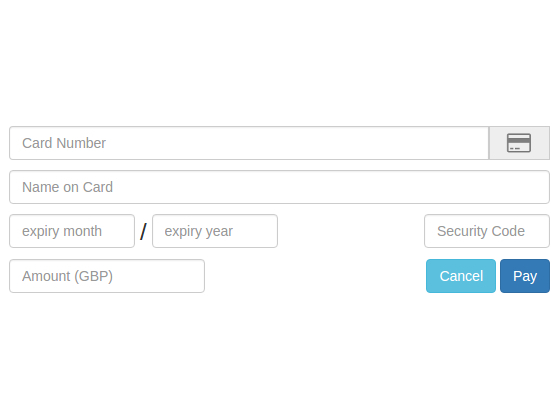
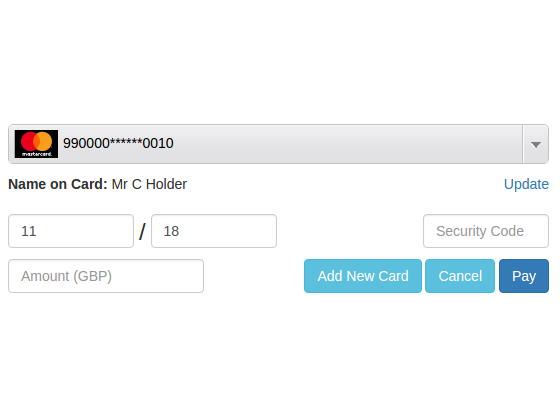
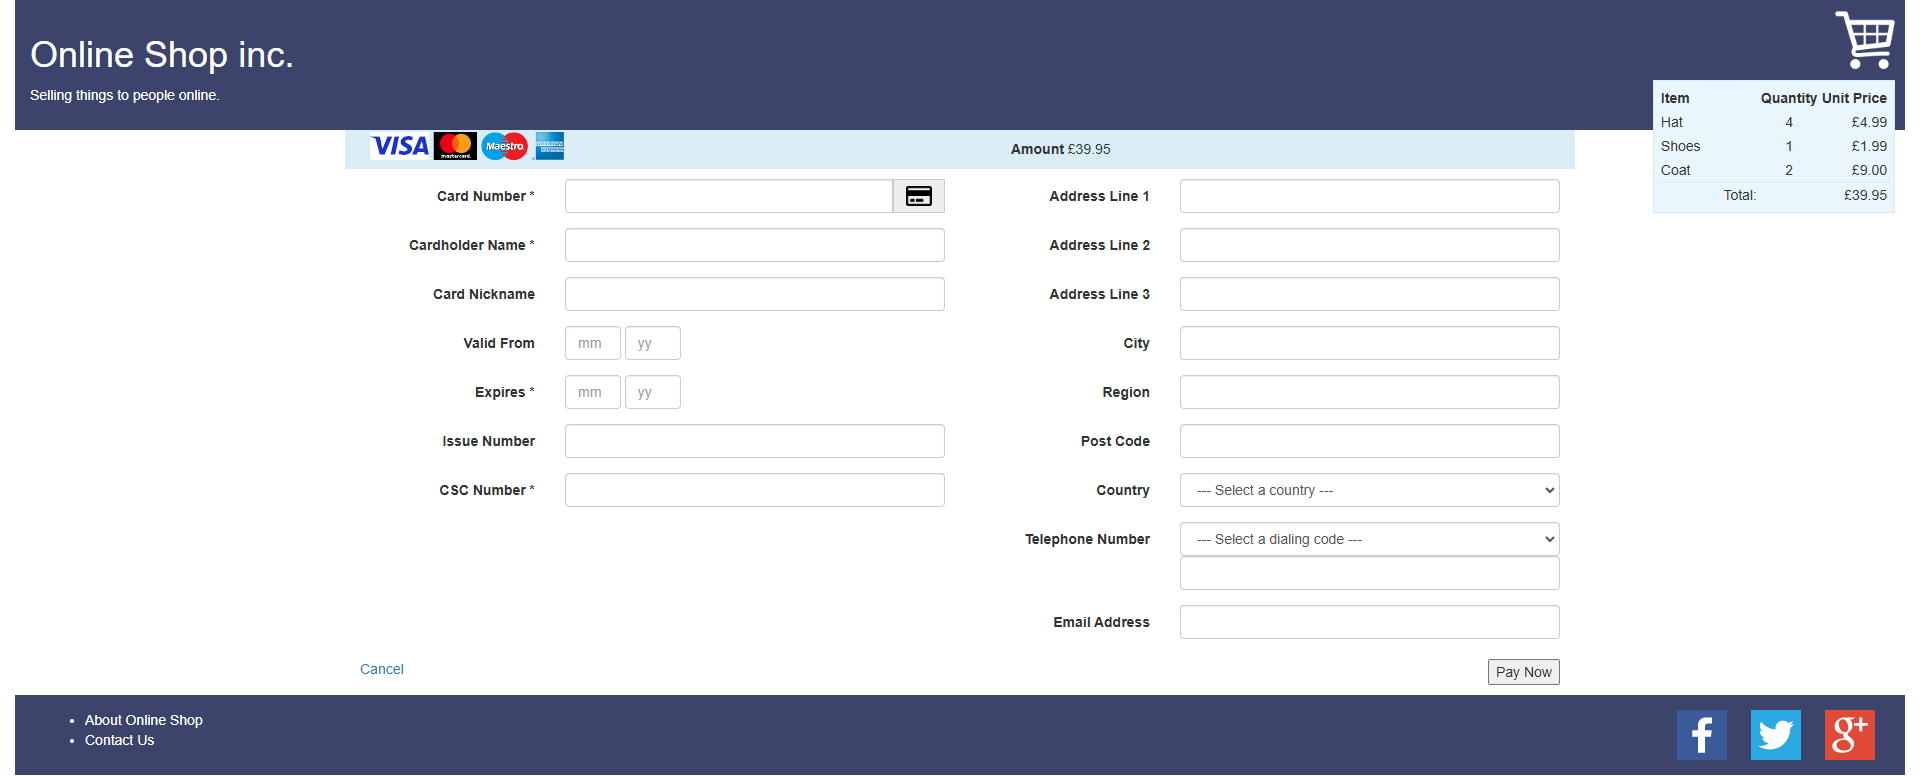
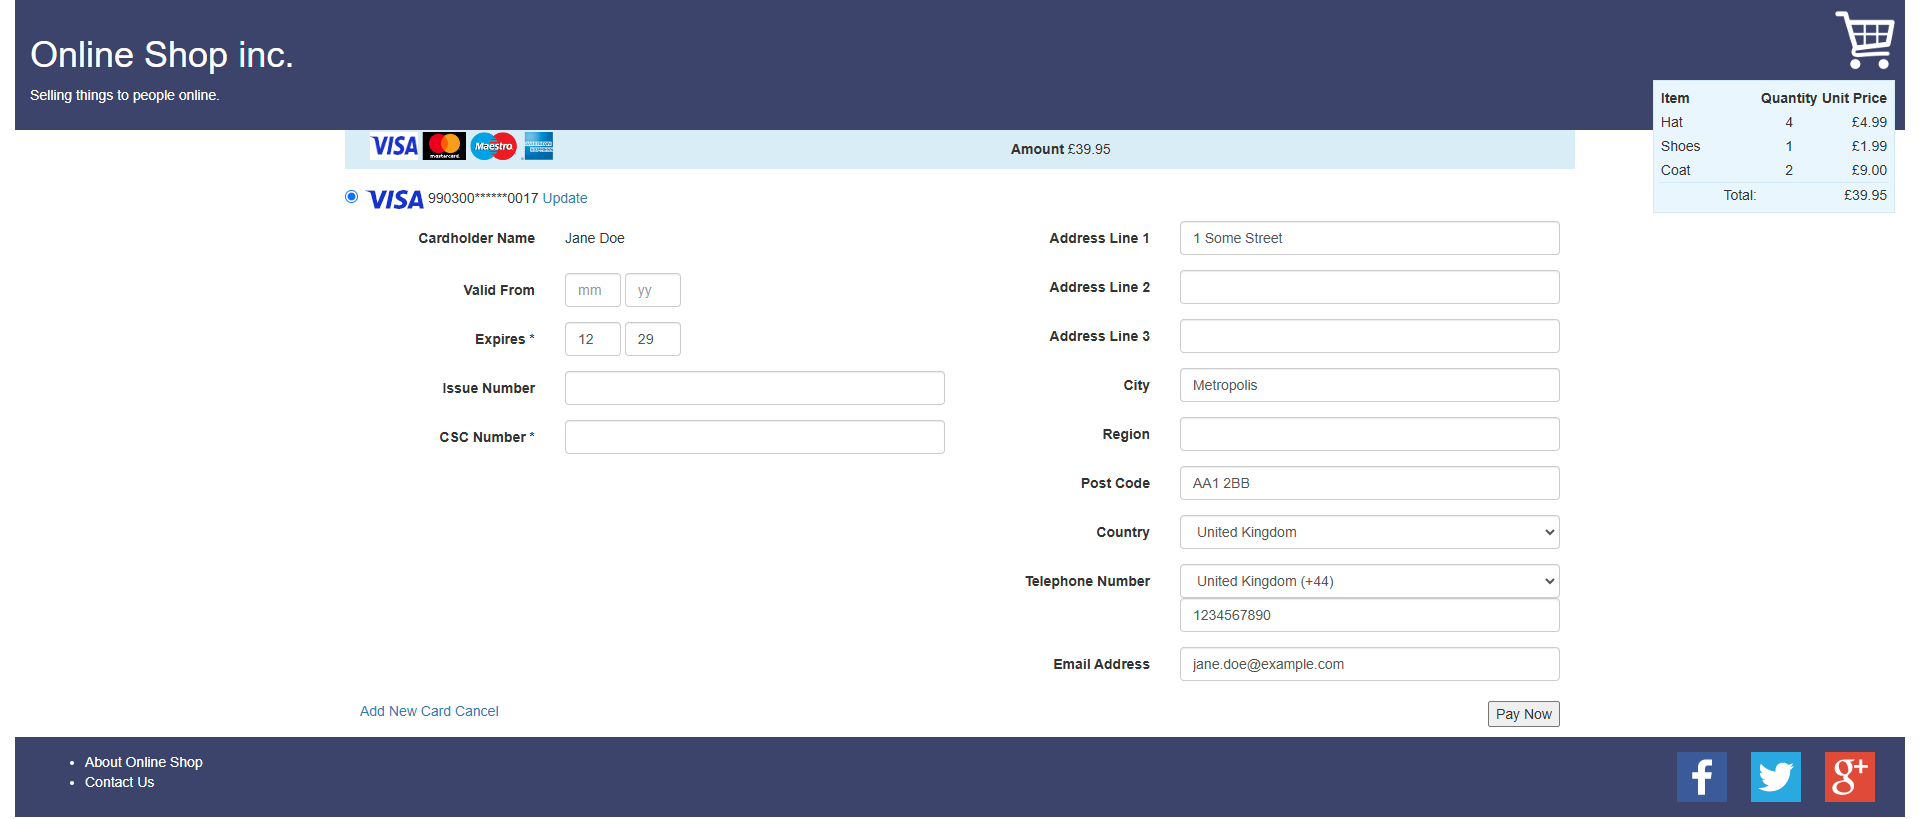
For more information on the page flow of the PaySuite Payment Page, see PaySuite Payment Page flow.
How does a skin work?
A skin allows you to provide custom CSS and JavaScript to be put onto every hosted page. The CSS can be used to make basic cosmetic appearance changes, while the JavaScript allows a web developer to take full control, adding custom content or even restructuring the whole page if required. In addition, the skin can change the text on the pages into a fully localised solution.
All of the following documentation describes skinning version 2. If you have a version 1 skin there are some notes on Upgrading from skinning version 1 to version 2.
Managing your skins
A skin is handled as a single zip file that has to have the following structure.
/skin.properties <required>
/assets/css/main.css <required>
/assets/css/ie.css <optional>
/assets/js/main.js <required>
/locale/messages.properties <optional>
Here are some examples of hosted skins:
- defaultskin.zip — our default skin that is served if you do not have your own.
- tiny.zip — an example skin that brings the payment form down to a minimum.
- big.zip — an example skin that makes the payment form look like the page of a merchant's site.
You can upload a skin using the skin management API. It is only available to use within the MITE environment. To manage skins in the LIVE environment, please contact us.
Before your skin can be put into LIVE we will conduct a security review. We cannot accept any CSS or JavaScript code that has been minified or obfuscated in any way that prevents us from reading and assessing it. Minified third party content is okay so long as it comes from an established and maintained provider, and there are sufficient comments for us to identify and verify it against source.
The review we do does not include functional or aesthetic testing of the skin, please test your skin in MITE before asking for it to be put into LIVE. Please also remove any unused files from the skin zip, such as LESS/SASS source files. A skin may be rejected for reasons not specified here. Any skin not passing the review will not be put into LIVE.
Once a skin has been uploaded you will be given an ID for the skin, use this ID in a hosted initialisation request to use the skin.
Using one of your skins
When submitting a hosted request, you can specify the skin you want to use for that session in session.skin:
Payment session using one of your skins
POST /hosted/rest/sessions/{instId}/payments{
"session": {
"returnUrl": {
"url": "https://www.example.com/return"
},
"skin": "aSkinId"
},
"transaction": {
"money": {
"currency": "GBP",
"amount": {
"fixed": 25.00
}
},
"merchantReference": "aReference"
}
}curl -X POST "{targetEnvironmentPath}/hosted/rest/sessions/{instId}/payments" \
-u "{apiUser}:{apiPassword}" \
-H "Content-Type: application/json" \
-d '{
"session": {
"returnUrl": {
"url": "https://www.example.com/return"
},
"skin": "aSkinId"
},
"transaction": {
"money": {
"currency": "GBP",
"amount": {
"fixed": 25.00
}
},
"merchantReference": "aReference"
}
}'HTTP/1.1 201 Created
{
"sessionId": "SMjrXdkhlNXtuFoZAifqMRl9G",
"redirectUrl": "https://secure.mite.pay360.com/hosted/SMjrXdkhlNXtuFoZAifqMRl9G/begin/SMjrXdkhlNXtuFoZAifqMRl9G",
"status": "SUCCESS"
}The platform also has a number of default skins that can be used. Please ask your Client Manager about using one of these.
The skin can also be specified on your installation(s) to be used as a default for all requests to that installation. In this case, specifying a skin on the request will override the installation default. In the event we cannot retrieve a valid stored skin from your installation or your hosted request, we will use the default platform skin for the hosted session.